Django 入門 パート 2
パート 1 では、Django で新しいプロジェクトを開始する方法を紹介し、新しいモデルの定義方法と既存のモデルの追加方法を説明しました。 今回は、初期状態で利用可能な管理者パネルとどのように役立つかについて説明します。 _重要な注意事項: この記事のアクションを繰り返しても、動作しません。 記事の途中で、django-iris プロジェクトにいくつか修正を行い、InterSystems が作成した DB-API ドライバーの課題もいくつか修正しました。このドライバーは現在の開発中であり、将来的に、より安定したドライバーが提供されると思います。 この記事では、すべてを実行した場合にどのようになるかを説明しているにすぎません。_
コードに戻り、すべてのウェブリクエストのメインのエントリポイントである urls.py にある内容を確認しましょう。
"""main URL Configuration

The `urlpatterns` list routes URLs to views. For more information please see:
    https://docs.djangoproject.com/en/4.0/topics/http/urls/
Examples:
Function views
    1. Add an import:  from my_app import views
    2. Add a URL to urlpatterns:  path('', views.home, name='home')
Class-based views
    1. Add an import:  from other_app.views import Home
    2. Add a URL to urlpatterns:  path('', Home.as_view(), name='home')
Including another URLconf
    1. Import the include() function: from django.urls import include, path
    2. Add a URL to urlpatterns:  path('blog/', include('blog.urls'))
"""
from django.contrib import admin
from django.urls import path

urlpatterns = [
    path('admin/', admin.site.urls),
]
すでに URL **_admin_** がそこに定義されているのが分かります。 開発サーバーをコマンドで起動しましょう。
python manage.py runserver
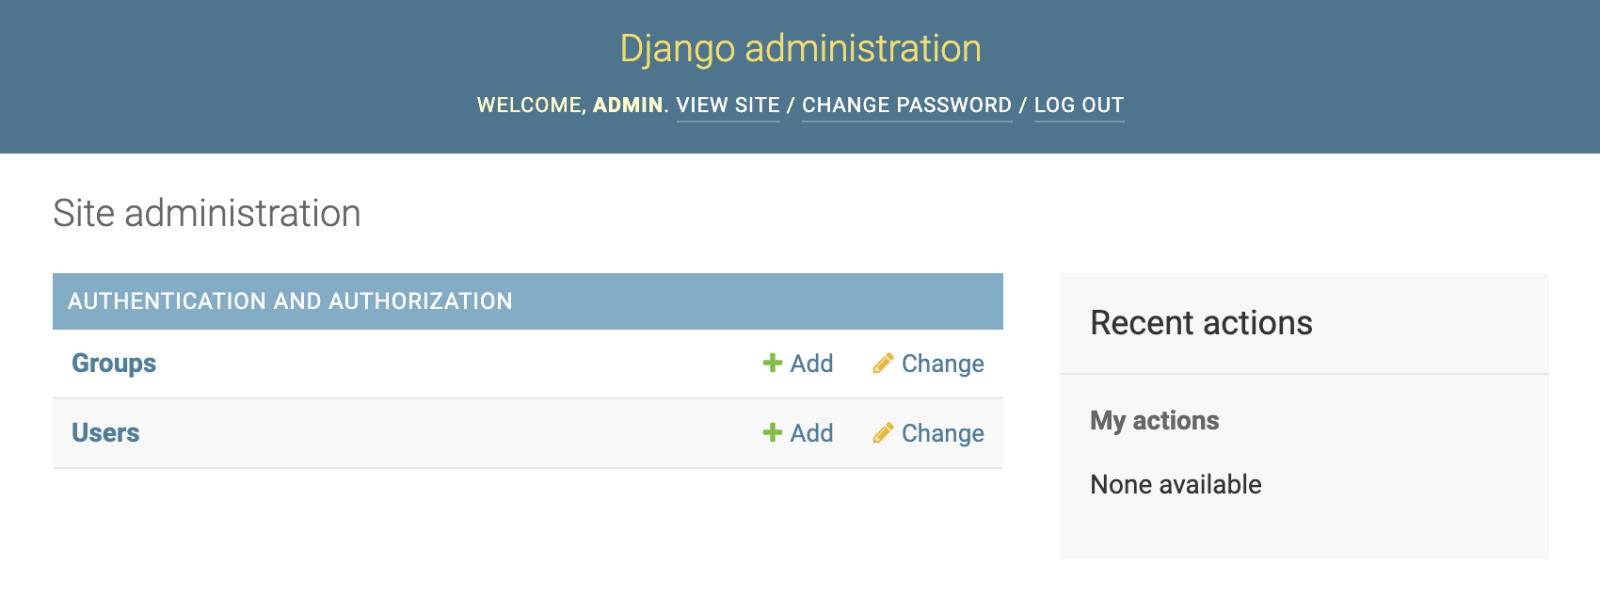
URL _http://localhost:8000/admin_ に移動すると、Django 管理のログインフォームが表示されます。 .png) ここには何らかのユーザーが必要であるため、次のコマンドでそのユーザーを作成します。
$ python manage.py createsuperuser
Username (leave blank to use 'daimor'): admin
Email address: admin@example.com
Password:
Password (again):
The password is too similar to the username.
This password is too short. It must contain at least 8 characters.
This password is too common.
Bypass password validation and create user anyway? [y/N]: y
Superuser created successfully.
このログインとパスワードをここで使用します。 現時点ではあまり何もありませんが、グループとユーザーにはアクセスできるようになっています。
その他のデータ
前回、zpm で post-and-tags パッケージをインストールしました。ここでも同じことを行えます。
zpm "install posts-and-tags"次に、このパッケージでインストールされたすべてのテーブル(_community.post、community.comment、community.tag_)のモデルを取得します。
$ python manage.py inspectdb community.post community.comment community.tag > main/models.py
これにより多少長いファイルが生成されるので、スポイラーとして記載します。
main/models.py
# This is an auto-generated Django model module.
# You'll have to do the following manually to clean this up:
#   * Rearrange models' order
#   * Make sure each model has one field with primary_key=True
#   * Make sure each ForeignKey and OneToOneField has `on_delete` set to the desired behavior
#   * Remove `managed = False` lines if you wish to allow Django to create, modify, and delete the table
# Feel free to rename the models, but don't rename db_table values or field names.
from django.db import models


class CommunityPost(models.Model):
    acceptedanswerts = models.DateTimeField(db_column='AcceptedAnswerTS', blank=True, null=True)  # Field name made lowercase.
    author = models.CharField(db_column='Author', max_length=50, blank=True, null=True)  # Field name made lowercase.
    avgvote = models.IntegerField(db_column='AvgVote', blank=True, null=True)  # Field name made lowercase.
    commentsamount = models.IntegerField(db_column='CommentsAmount', blank=True, null=True)  # Field name made lowercase.
    created = models.DateTimeField(db_column='Created', blank=True, null=True)  # Field name made lowercase.
    deleted = models.BooleanField(db_column='Deleted', blank=True, null=True)  # Field name made lowercase.
    favscount = models.IntegerField(db_column='FavsCount', blank=True, null=True)  # Field name made lowercase.
    hascorrectanswer = models.BooleanField(db_column='HasCorrectAnswer', blank=True, null=True)  # Field name made lowercase.
    hash = models.CharField(db_column='Hash', max_length=50, blank=True, null=True)  # Field name made lowercase.
    lang = models.CharField(db_column='Lang', max_length=50, blank=True, null=True)  # Field name made lowercase.
    name = models.CharField(db_column='Name', max_length=250, blank=True, null=True)  # Field name made lowercase.
    nid = models.IntegerField(db_column='Nid', primary_key=True)  # Field name made lowercase.
    posttype = models.CharField(db_column='PostType', max_length=50, blank=True, null=True)  # Field name made lowercase.
    published = models.BooleanField(db_column='Published', blank=True, null=True)  # Field name made lowercase.
    publisheddate = models.DateTimeField(db_column='PublishedDate', blank=True, null=True)  # Field name made lowercase.
    subscount = models.IntegerField(db_column='SubsCount', blank=True, null=True)  # Field name made lowercase.
    tags = models.CharField(db_column='Tags', max_length=350, blank=True, null=True)  # Field name made lowercase.
    text = models.TextField(db_column='Text', blank=True, null=True)  # Field name made lowercase.
    translated = models.BooleanField(db_column='Translated', blank=True, null=True)  # Field name made lowercase.
    type = models.CharField(db_column='Type', max_length=50, blank=True, null=True)  # Field name made lowercase.
    views = models.IntegerField(db_column='Views', blank=True, null=True)  # Field name made lowercase.
    votesamount = models.IntegerField(db_column='VotesAmount', blank=True, null=True)  # Field name made lowercase.
    class Meta:
        managed = False
        db_table = 'community.post'
class CommunityComment(models.Model):
    id1 = models.CharField(db_column='ID1', primary_key=True, max_length=62)  # Field name made lowercase.
    acceptedanswerts = models.DateTimeField(db_column='AcceptedAnswerTS', blank=True, null=True)  # Field name made lowercase.
    author = models.CharField(db_column='Author', max_length=50, blank=True, null=True)  # Field name made lowercase.
    avgvote = models.IntegerField(db_column='AvgVote', blank=True, null=True)  # Field name made lowercase.
    correct = models.BooleanField(db_column='Correct', blank=True, null=True)  # Field name made lowercase.
    created = models.DateTimeField(db_column='Created', blank=True, null=True)  # Field name made lowercase.
    hash = models.CharField(db_column='Hash', max_length=50, blank=True, null=True)  # Field name made lowercase.
    id = models.IntegerField(db_column='Id')  # Field name made lowercase.
    post = models.CharField(db_column='Post', max_length=50, blank=True, null=True)  # Field name made lowercase.
    text = models.TextField(db_column='Text', blank=True, null=True)  # Field name made lowercase.
    texthash = models.CharField(db_column='TextHash', max_length=50, blank=True, null=True)  # Field name made lowercase.
    type = models.CharField(db_column='Type', max_length=50)  # Field name made lowercase.
    votesamount = models.IntegerField(db_column='VotesAmount', blank=True, null=True)  # Field name made lowercase.
    class Meta:
        managed = False
        db_table = 'community.comment'
        unique_together = (('type', 'id'),)


class CommunityTag(models.Model):
    description = models.TextField(db_column='Description', blank=True, null=True)  # Field name made lowercase.
    name = models.TextField(db_column='Name', primary_key=True)  # Field name made lowercase.
    class Meta:
        managed = False
        db_table = 'community.tag'
Django の管理ダッシュボードは、開発者が拡張できるようになっています。 また、テーブルをさらに追加することも可能です。 それには、main/admin.py という新しいファイルを追加する必要があります。コード内には、行を説明するコメントをいくつか追加しています。
from django.contrib import admin

# immport our community models for our tables in IRIS
from .models import (CommunityPost, CommunityComment, CommunityTag)
# register class which overrides default behaviour for model CommunityPost
@admin.register(CommunityPost)
class CommunityPostAdmin(admin.ModelAdmin):
  # list of properties to show in table view
  list_display = ('posttype', 'name', 'publisheddate')
  # list of properties to show filter for on the right side of the tablee
  list_filter = ('posttype', 'lang', 'published')
  # default ordering, means from the latest date of PublishedDate
  ordering = ['-publisheddate', ]

@admin.register(CommunityComment)
class CommunityCommentAdmin(admin.ModelAdmin):
  # only this two fields show, (post is numeric by id in table post)
  list_display = ('post', 'created')
  # order by date of creation
  ordering = ['-created', ]

@admin.register(CommunityTag)
class CommunityTagAdmin(admin.ModelAdmin):
  # not so much to show
  list_display = ('name', )
ポータルの拡張
Django 管理ページに戻り、そこに追加された新しい項目を確認しましょう。

右側には、フィルタパネルがあります。最も重要なのは、特定のフィールドの可能値がすべて表示されている点です。
残念ながら、InterSystems SQL は Django で期待されているまたは Django の別の方法である LIMIT, OFFSET をサポートしていません。 また、Django は TOP をサポートしていません。 そのため、ここにページ送りは表示されますが、機能しません。 また、現時点では機能できるようにもできません。残念ながら個人的には、今後も機能することはないと思っています。
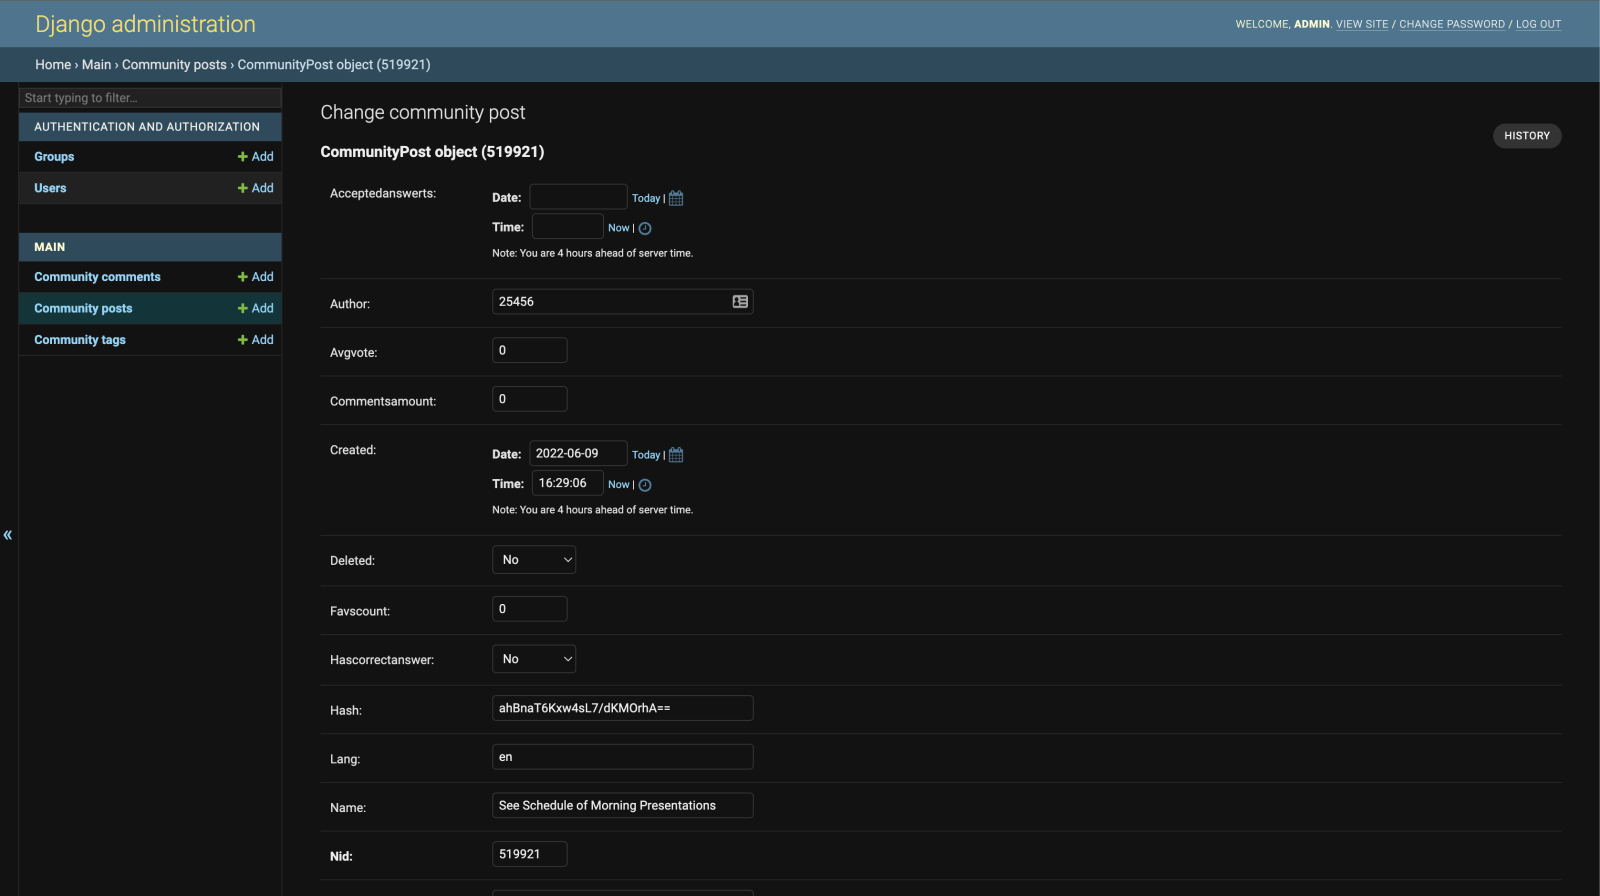
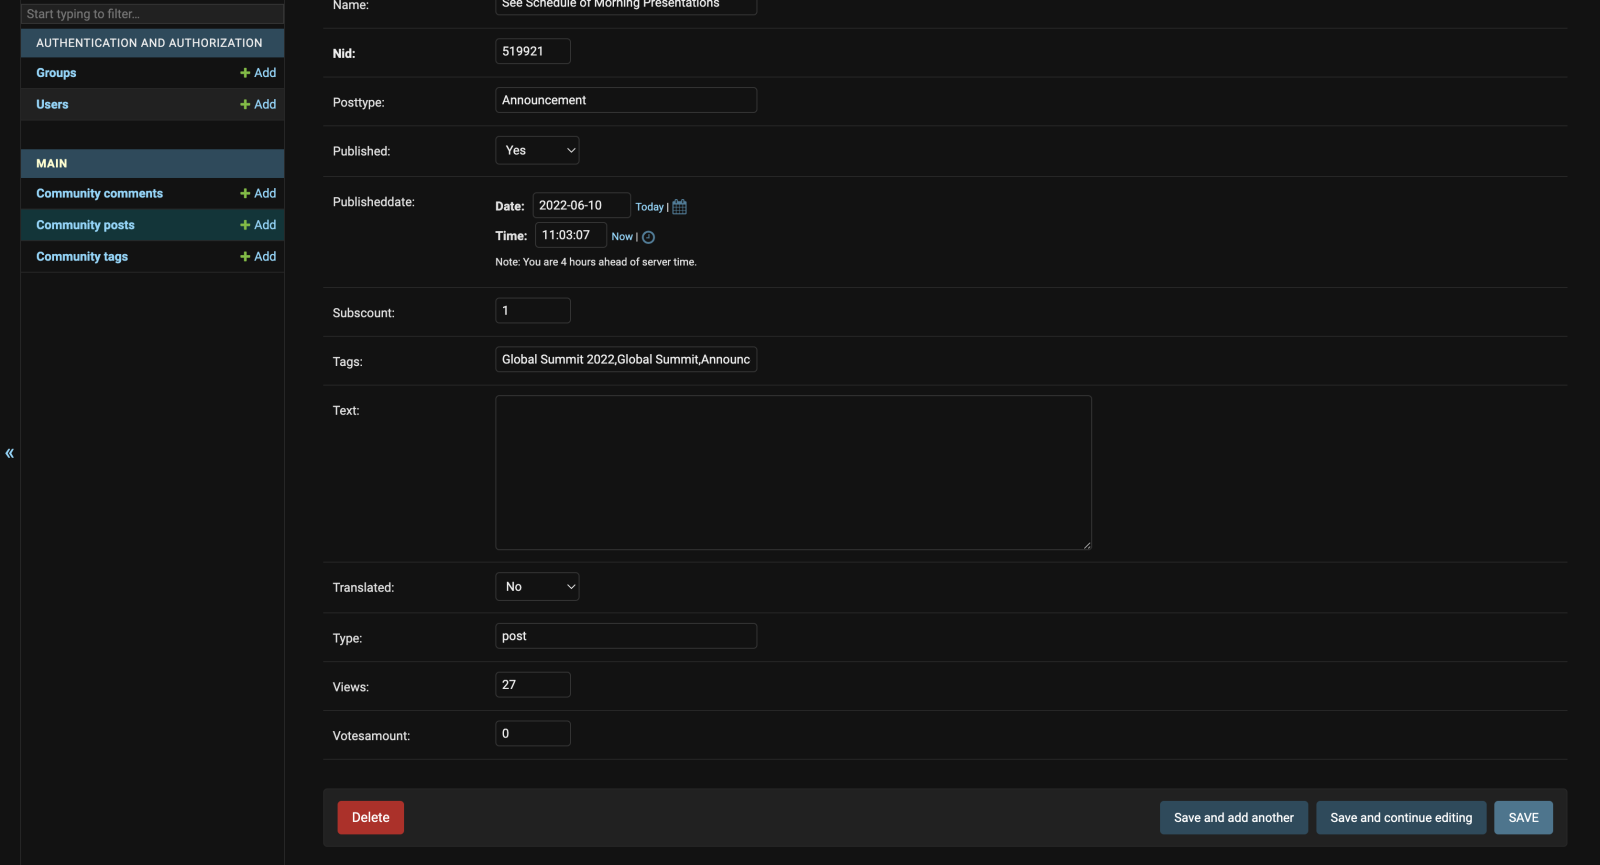
オブジェクトを詳しく調べることも可能で、Django には正しいフィールド型っを使ったフォームが表示されます。(注意: このデータセットには、テキストフィールドのデータは含まれません)
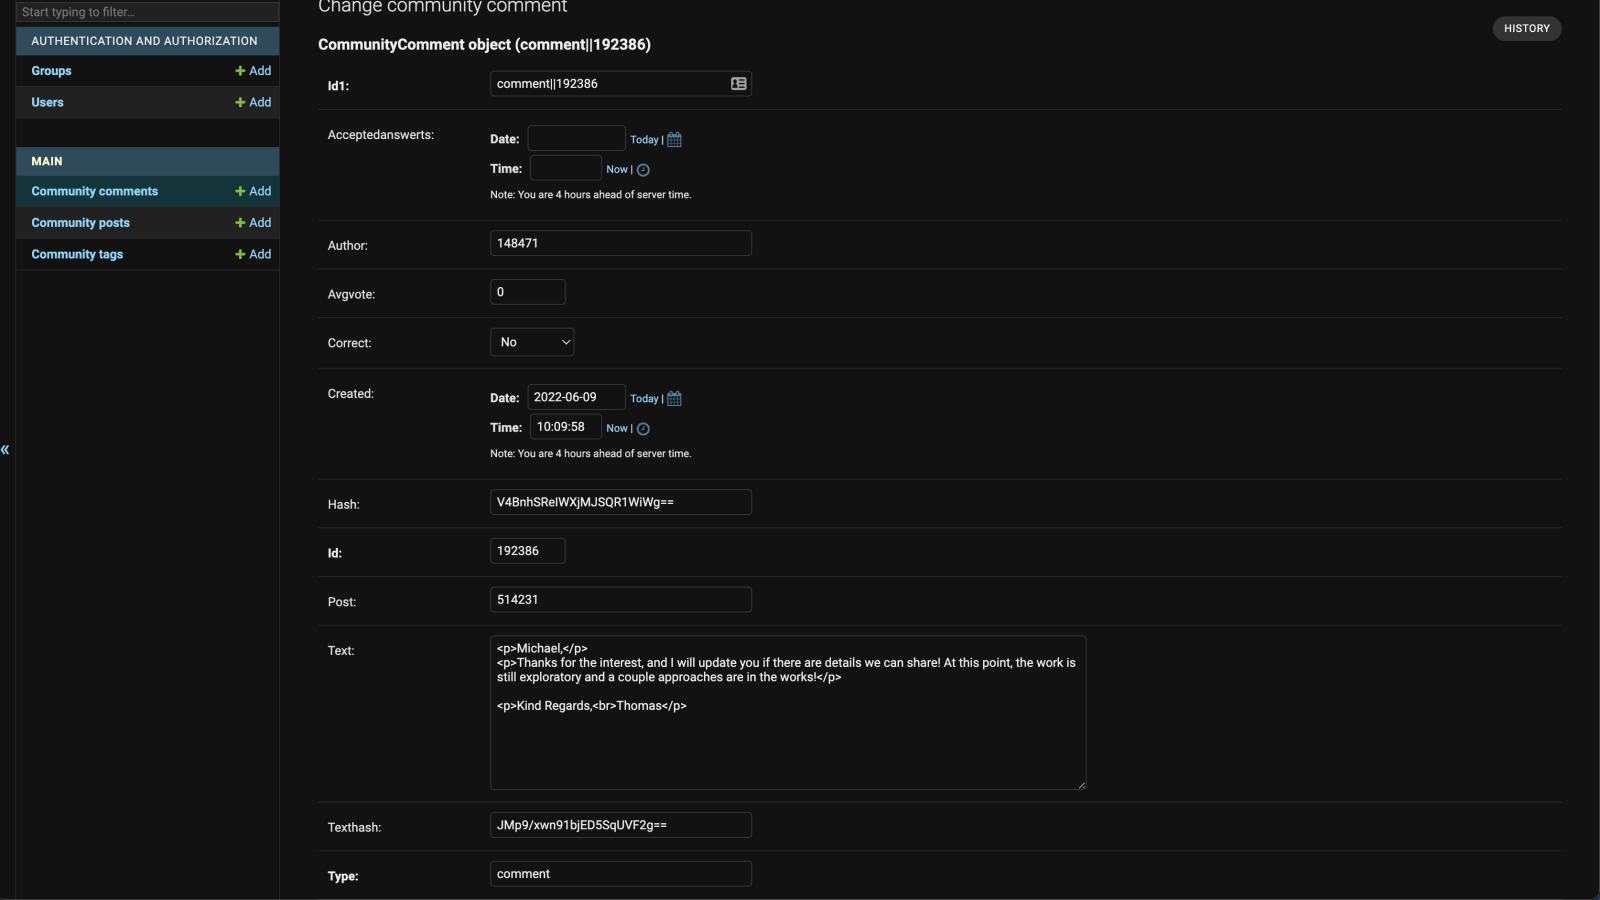
コメントオブジェクト
Community Edition ではライセンスに関する課題が予想されます。
.png)
IRIS が空き枠あると示す場合であってもです。
.png)
6 個以上の接続を許可しないため、動作させるには、1つ以上のプロセスを終了するか、Django サーバーを再起動しなければなりません。
.png)
開発時には、Django サーバーを非スレッドモードに制限することもできるため、1つのプロセスで動作させられます。 また、IRIS への接続をさらに取得してはいけません。
python manage.py runserver --nothreading